Skip to main content
Phase+Flow
Home
About Us
Services
Gallery
Why Us
Contact Us
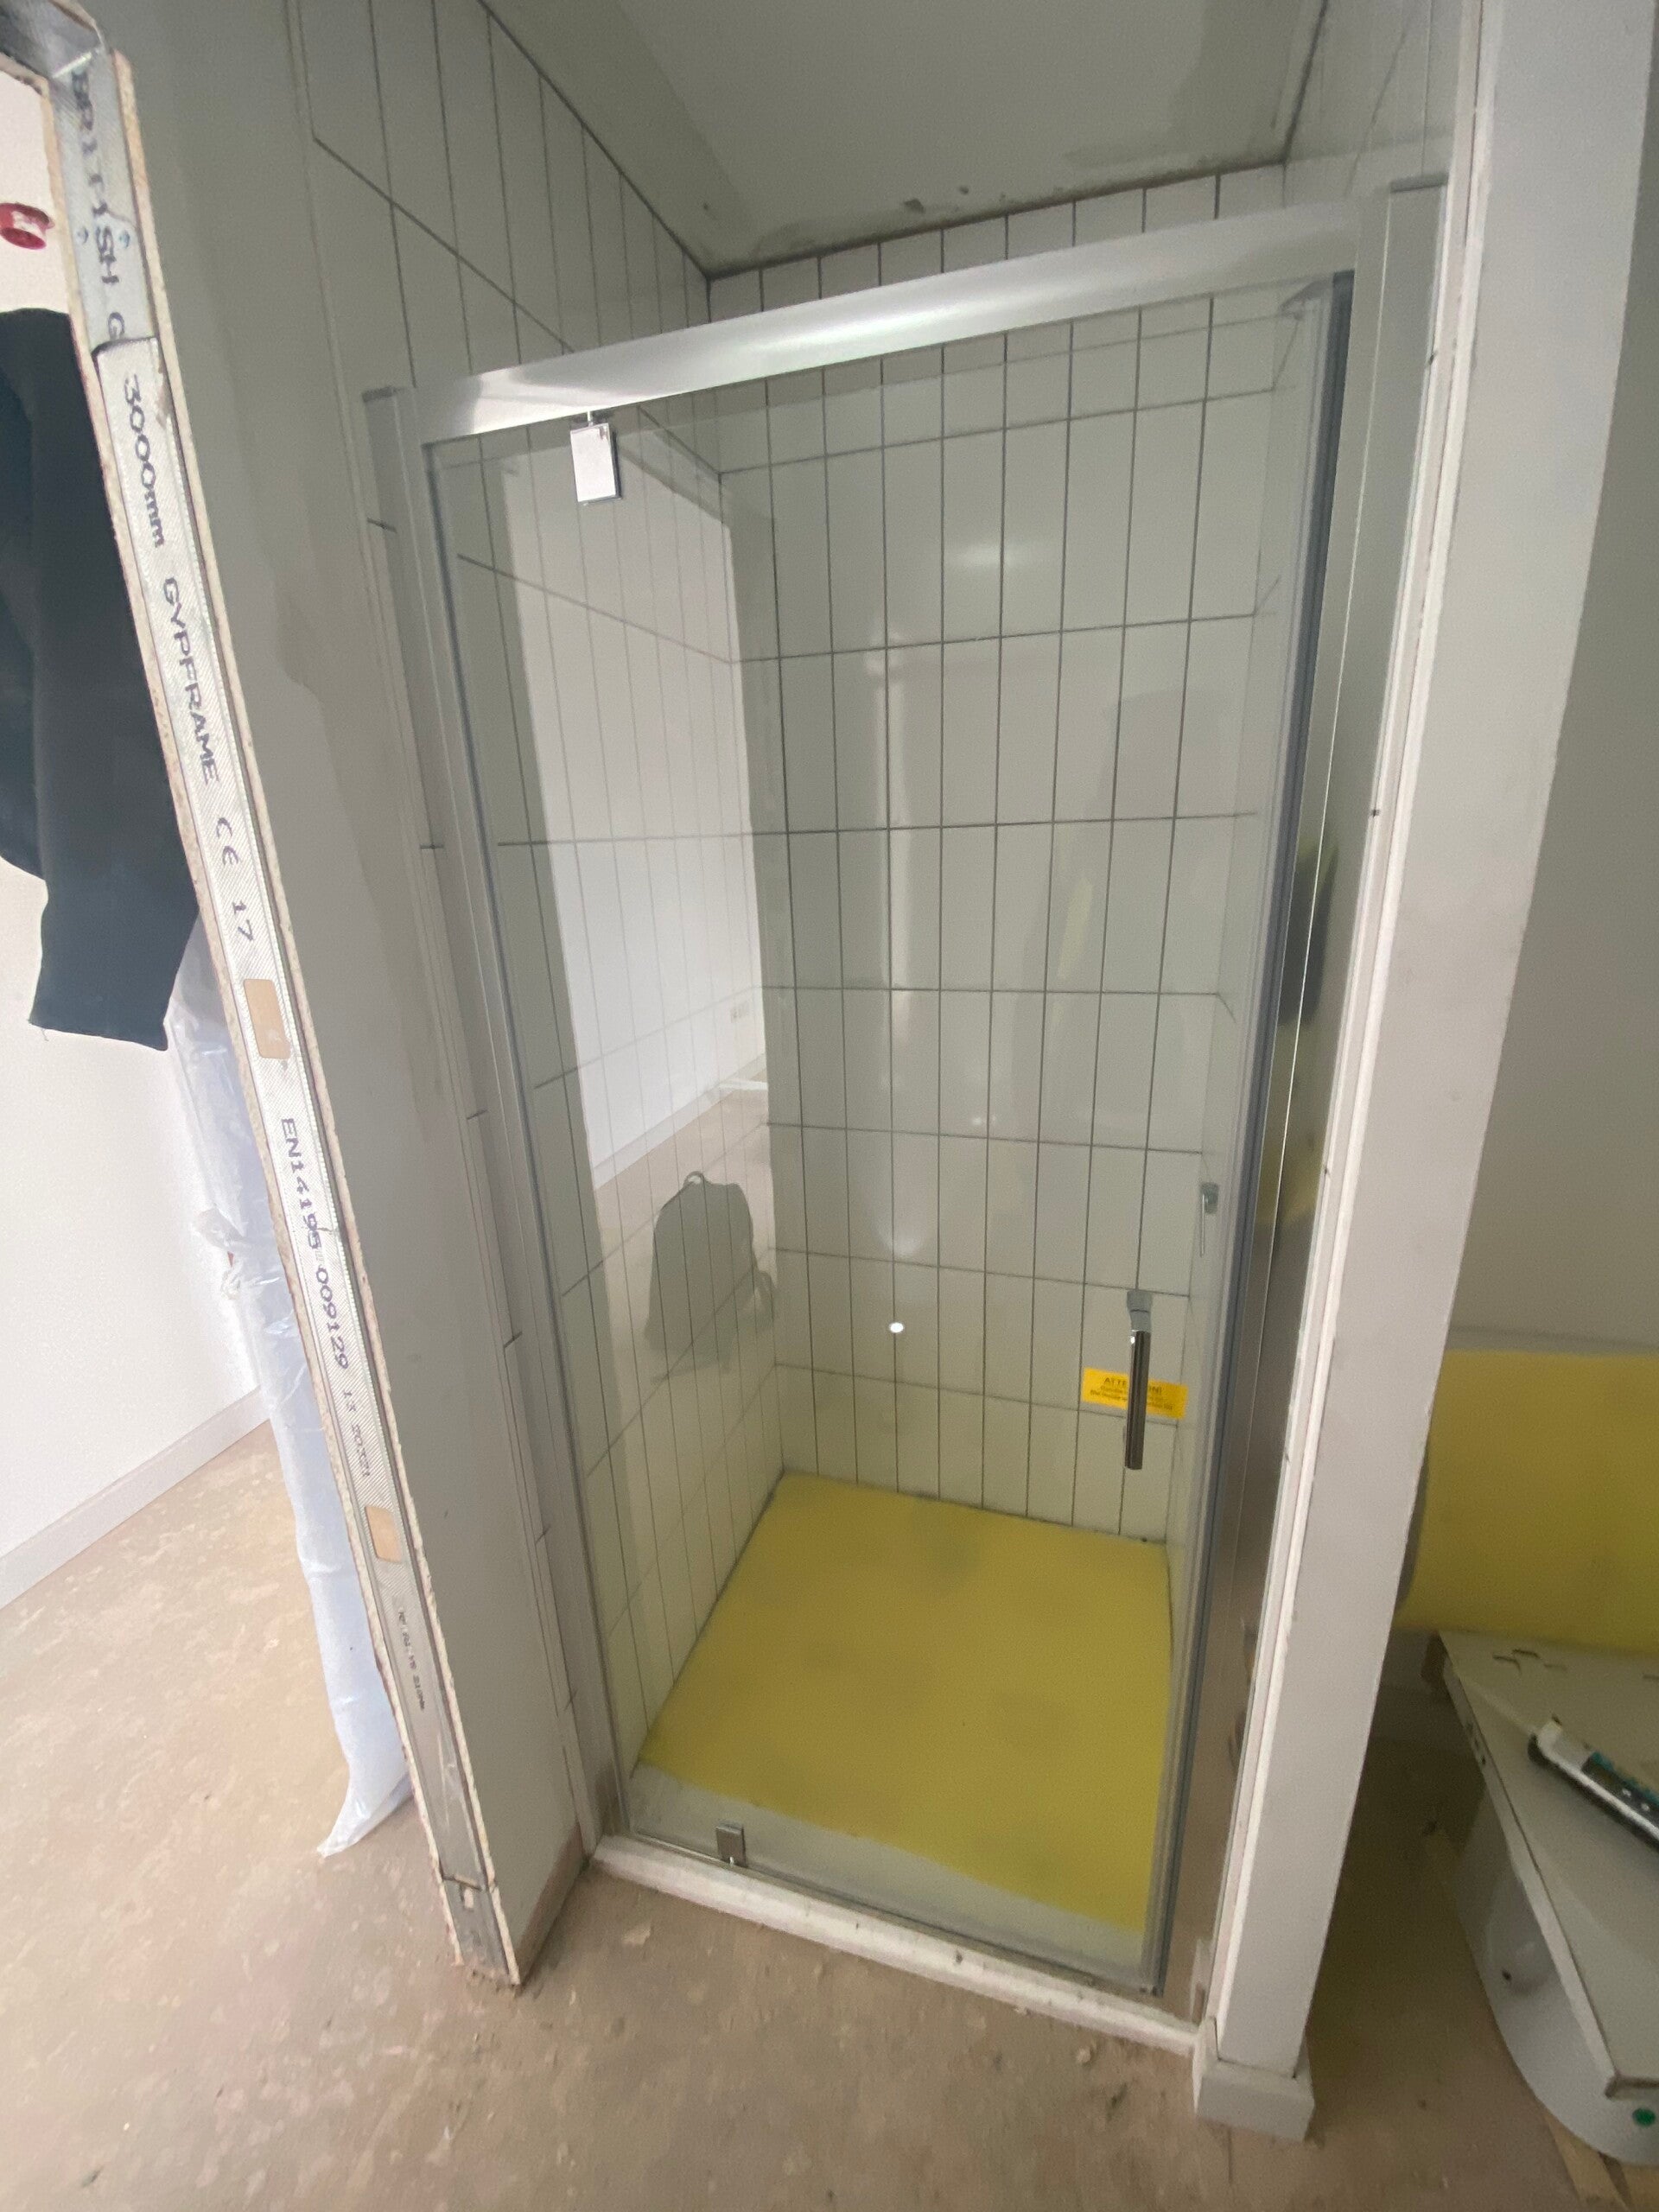
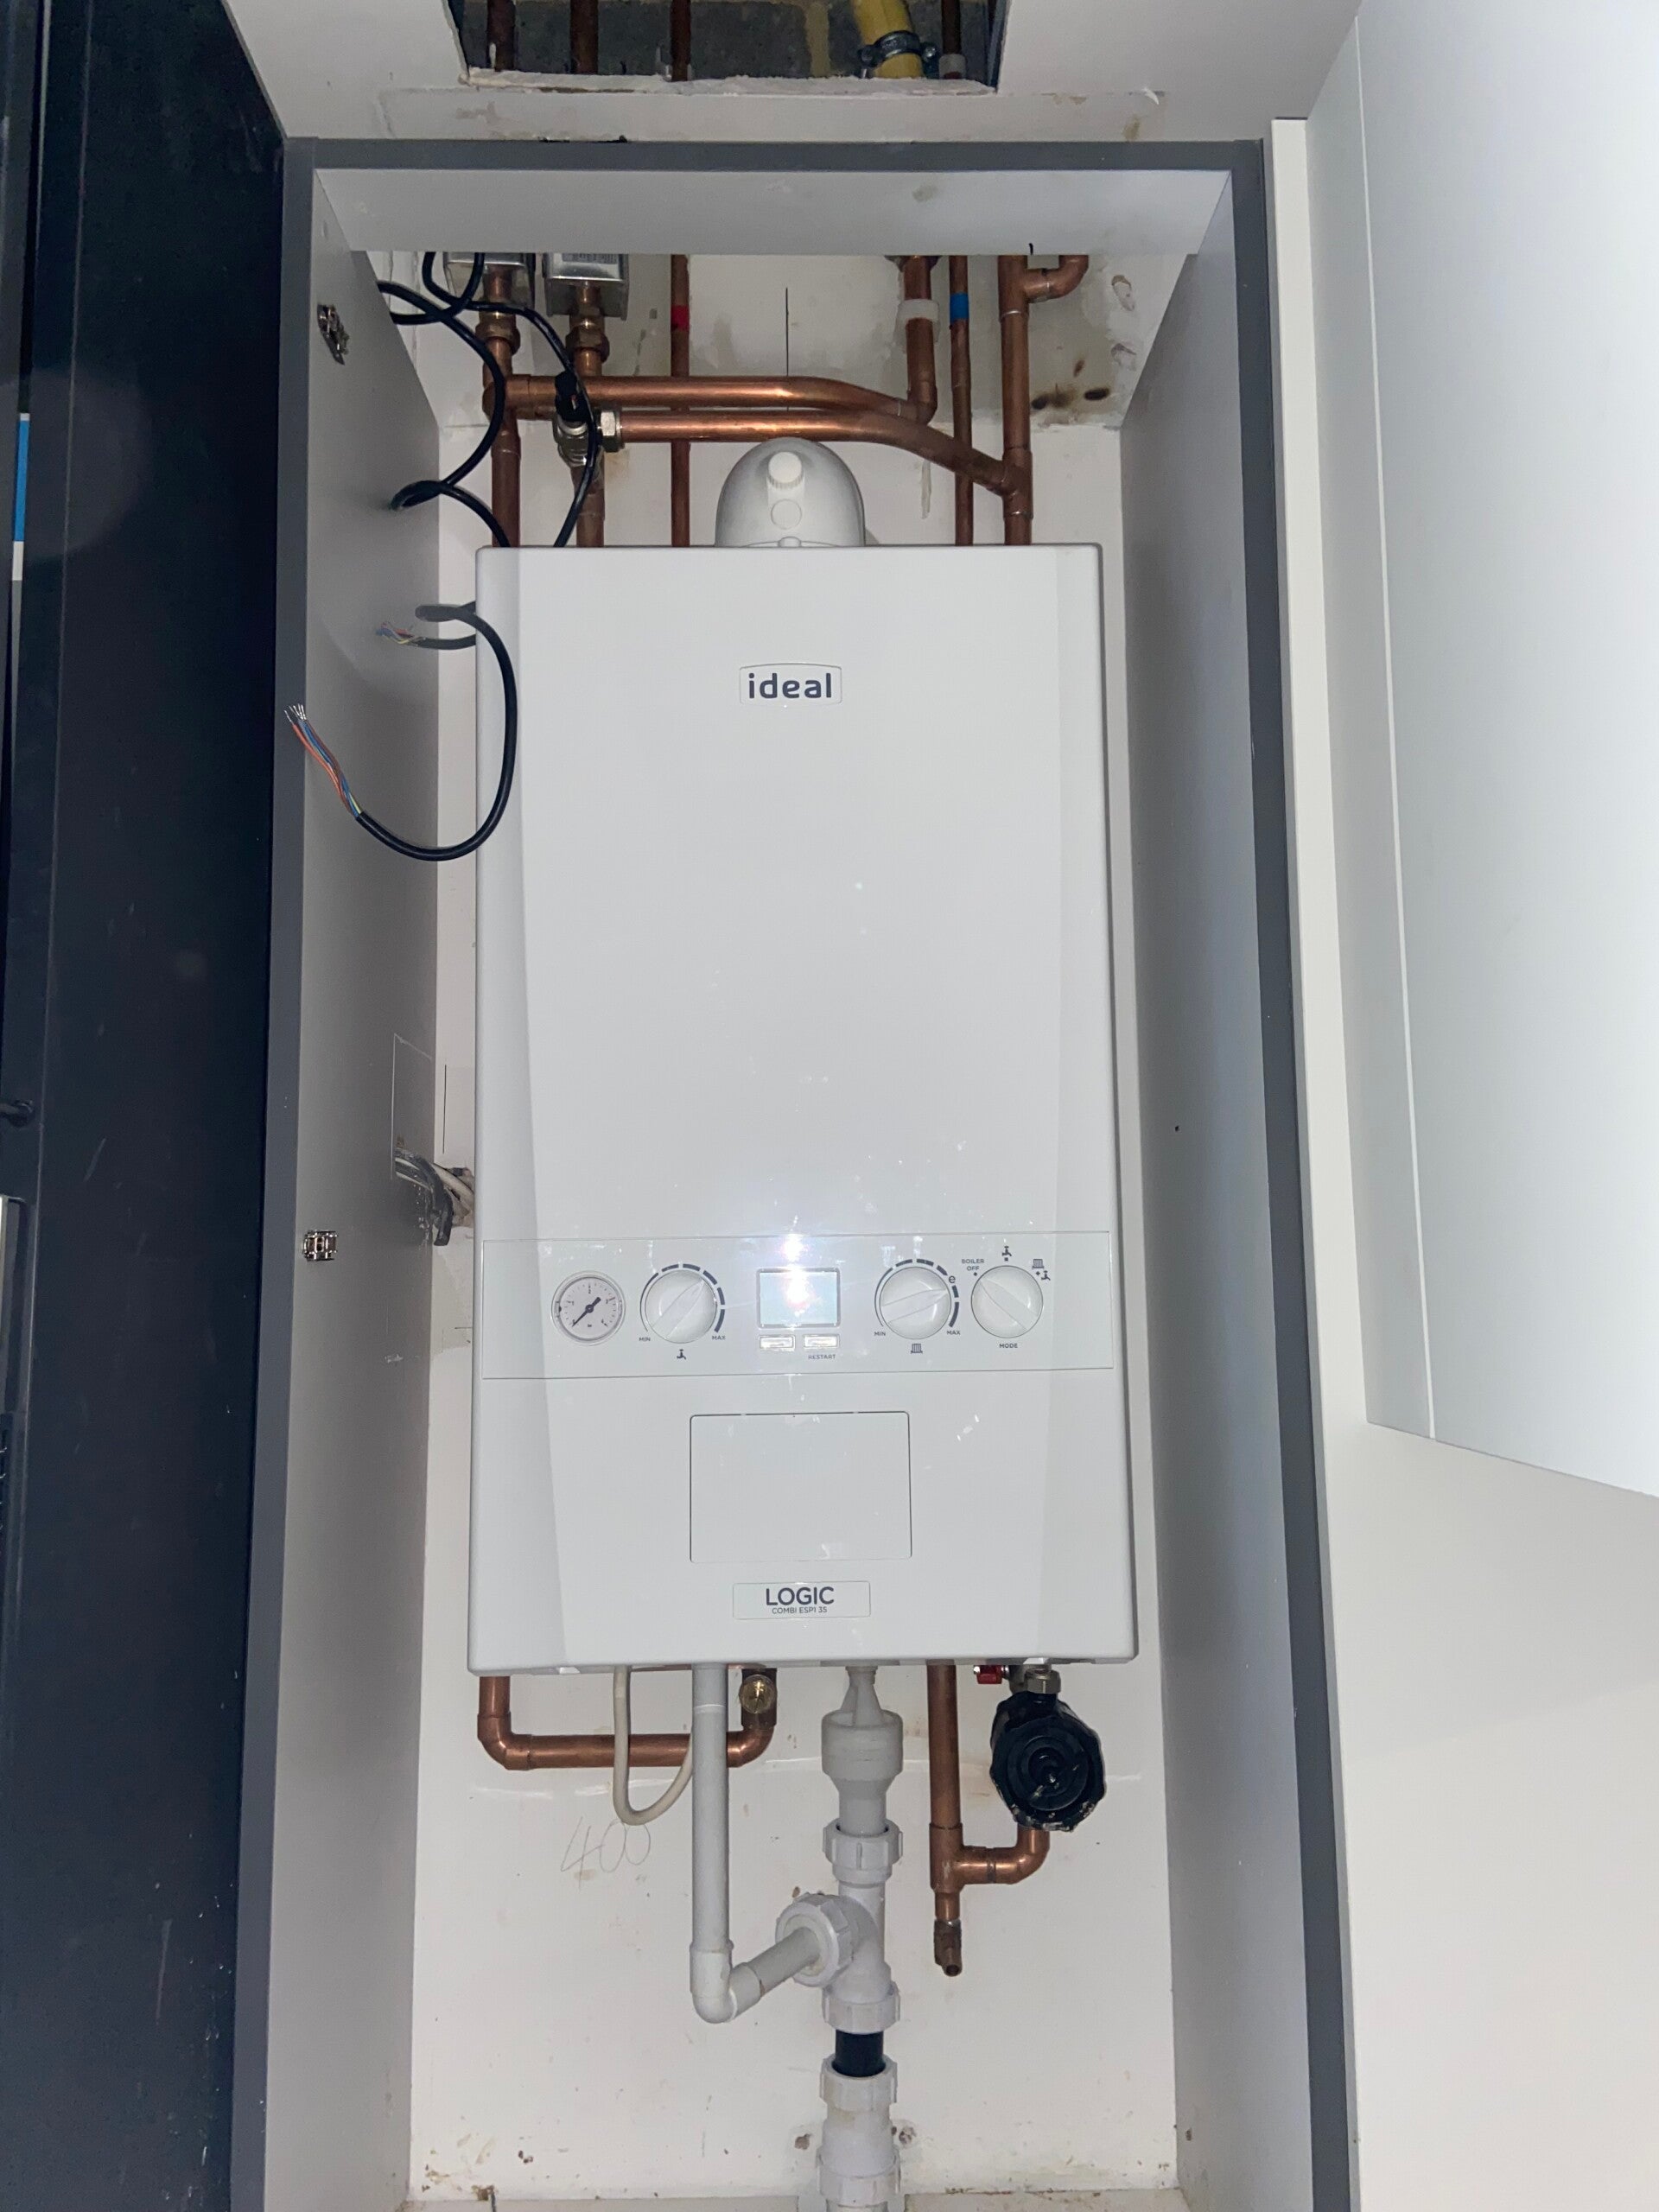
Photo Gallery
(1 / 4)
1
2
3
4
TOP